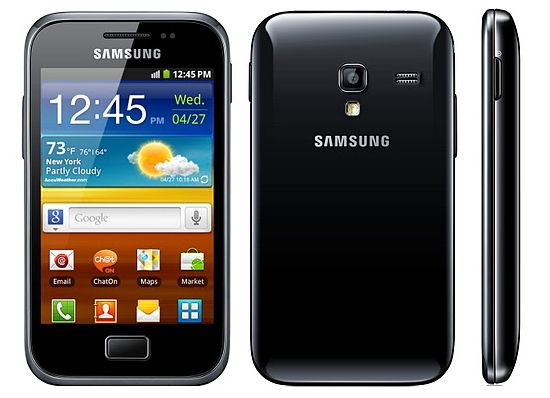
1. Download Odin3.zip package and unzip.
2. Download the ROOT.tar file.
3. Enter into download mode (volume down+home+power on) and connect phone to the PC.
4. Open Odin and select ROOT.tar file as PDA then start flash. Wait for the phone to reboot.
Andriod ဖုန္းေတြကို အားလံုး Root လုပ္တတ္ၾကေလာက္ျပီထင္ပါတယ္.... ဒါ့ေၾကာင့္ မူရင္းအတိုင္းတင္ေပးလိုက္ပါတယ္ ...။
ဖုန္းကို ဘာမွမလုပ္ခင္ “Settings > Applications > Development > USB debugging” ကိုသြားျပီး အမွန္ျခစ္ေလးတပ္ေပးထားပါ..။

၁). Odin3.zip ကိုေဒါင္းယူျပီး Zip ဖိုင္လ္ကိုျဖည္ထားပါ..။
၂). ROOT.tar ကိုေဒါင္းယူျပီး ျမင္သာျပီး ရွာေဖြရ လြယ္ကူတဲ႔ Desktop ေပၚမွာတင္ထားပါ..။
၃). ေအာက္ကပံုအတိုင္း Download mode ကို ဝင္ပါ.. ( Volume Down + Home + Power ) ကိုတျပိဳင္ထဲႏွိပ္ေပးပါ..။

၄). ဖုန္း ကို PC (Driver မရွိေသးရင္ ဒီမွာယူပါ) နဲ႔ခ်ိတ္ျပီး Odin3.zip ကို ဖြင့္ပါ PDA ကိုႏွိပ္ျပီး ေစာေစာက Desktop ေပၚမွာတင္ထားတဲ႔ ROOT.tar ကိုေရြးေပးျပီး Start ကိုႏွိပ္လိုက္ပါ... ျပီးတာနဲ႔ သူ႕အလိုလို Reboot လုပ္ပါလိမ့္မယ္ .. မလုပ္ရင္ မိမိဘာသာမိမိ Reboot လုပ္ေပးလိုက္ပါ... ဖုန္းျပန္တတ္လာရင္ Super User အိုင္ကြန္ေလးေတြ႕ျမင္ရရင္ Root လုပ္ျခင္း ေအာင္ျမင္သြားပါျပီ...။
Good Luck !!!!
ျမန္မာ Font ထည့္ခ်င္ရင္ေတာ့ ဒီေနရာမွာ တင္ထားတဲ႔ ပို႔ထဲကအတိုင္း လုပ္ေဆာင္ေပးႏိုင္ပါတယ္...။
အဆင္ေျပပါေစ...။

 Time in Rangoon


0 comments:
Post a Comment